How to Install and Use Pre-Teen Mods in Sims 4: A Step-by-Step Guide
How to Install and Use Pre-Teen Mods in Sims 4: A Step-by-Step Guide
PRESS HERE
Download

If you’re a Sims 4 enthusiast looking to enhance your gameplay experience, installing and using pre-teen mods can be a game-changer. These mods allow you to introduce pre-teen characters into your virtual world, adding a new layer of realism and storytelling possibilities. In this step-by-step guide, we will walk you through the process of installing and using pre-teen mods in Sims 4, ensuring that you have all the information you need to bring these young characters to life in your game.
Before we dive into the installation process, it’s important to note that modding involves modifying the original game files. While this is generally safe and widely practiced by players worldwide, it’s always recommended to backup your game files before proceeding with any modifications. This way, you can easily revert back to the original state if needed.
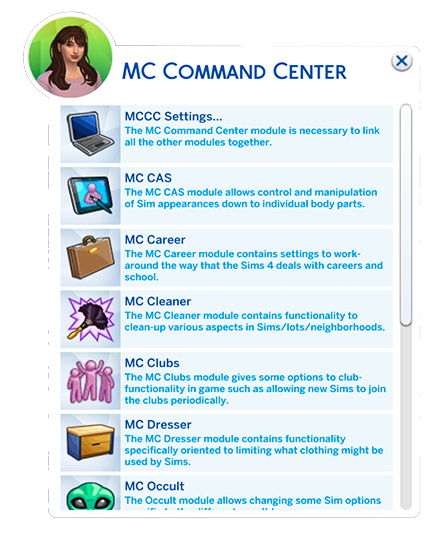
To begin, make sure that your Sims 4 game is up-to-date with all the latest patches and updates. This ensures compatibility with the mods you’ll be installing. Next, browse reputable modding websites or forums dedicated to Sims 4 mods and search for pre-teen mods specifically. Look for well-rated and frequently updated options to ensure they are compatible with your current version of the game.
Once you’ve found a pre-teen mod that suits your preferences, download it onto your computer. The mod file will typically be in .package format or sometimes as a compressed .zip file. If it’s compressed, extract its contents using a reliable extraction tool like WinRAR or 7-Zip.
Now that you have the mod file ready, locate your Sims 4 Mods folder on your computer. This folder is usually found within the Electronic Arts folder in My Documents (Windows) or Documents (Mac). If there isn’t an existing Mods folder, create one manually. How to Install and Use Pre-Teen Mods
Copy and paste the downloaded pre-teen mod file into this Mods folder. Make sure not to place it inside any subfolders to ensure it is detected by the game properly. Once the mod file is in the Mods folder, launch your Sims 4 game.
In the game’s main menu, navigate to the Options menu and select “Game Options.” From there, click on “Other” and make sure that the “Enable Custom Content and Mods” option is checked. This allows your game to recognize and load mods during gameplay.
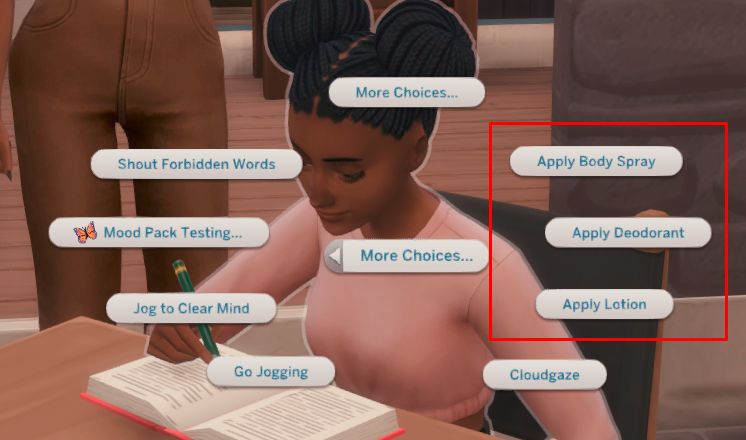
After enabling custom content and mods, exit the game completely and relaunch it. When you create a new Sim or load an existing household, you should now see pre-teen as an available age group for your characters. Customize their appearance, traits, and aspirations just like any other Sim in the game.
Congratulations! You have successfully installed and enabled pre-teen mods in Sims 4. Now you can enjoy playing with a whole new age group of characters, expanding your storytelling possibilities within the virtual world.
How to Install and Use Pre-Teen Mods
Remember to regularly check for updates for both your Sims 4 game and installed mods to ensure compatibility as newer versions are released. Additionally, always download mods from trusted sources to minimize any potential risks or conflicts with your game files.
Now that you are equipped with this step-by-step guide, go ahead and embark on a new adventure in Sims 4 with pre-teen characters at your fingertips!